My Level Design Process
 NOTE: The first bit of this post is how I used to make levels, and how they evolved. Skip to: There is where the process begins to see my current process.
But you need an idea right?! That idea will always carry you though the project! You can never truly get the idea out of your head and onto paper. So I would spend a lot of time just drafting the level in my head, and just remembering it. I would not do much refinement at this stage, as I was more focused on the theme and visuals of the level. I would want to get the mood down that I would want the player to have. (But I sucked at mapping then, so “mood” to me was adding a red light. I’m better now, just look at some of the screenies I’ve attached to this post.) Then after the theme and that, I’d move onto my next step.I would have that idea in my head, I’d start with one area, finish it completely then move onto the next. Rinse and repeat. I found that this method was not that good because it made trouble shooting a real pain the in butt. (Random tangent. I got a lot of my ideas before I go to sleep, and in the shower. Also, most of my creative moments come from when I’m watching my favorite art show… The joy of painting with Bob Ross. Screw you, he is soothing and paints amazing views.)
So then I took it upon myself to actually try with my designs. At this point I was mapping for about two years. So I started to draw my levels out on paper. Then I would refine the drawing, and then start at one area, finish it, then move on. This still had the same problem as before. As I’m not that artistically inclined, I was not able to draw well so I would just do a sloppy top down view. As you can imagine, that is 2D… Levels are 3D, herp a derp… So then I would get problems with different planes and heights of the map. So it would be a pain to trouble shoot, and this led to me scrapping a lot of levels. Sadly, I did not learn that quickly as I kept preforming this method for about another 3 years…
So now I’m at my 5ish year mark into mapping. This is where I kinda started to learn some more about design, but I also took a step back. I stopped drawing out my levels, but I altered my process as well. I started to block out my levels using nodraw and the dev texture set. This allowed me to get the level made, then play test and fix. Then fully detail areas out at a single time, then move on.
There is where the process begins Now for my current process, I’m quite proud of this process. I’ve spent a lot of time refining it to get it to this point. As I’ve been mostly focusing on Portal 2 mapping, it’s a bit focused on puzzle based maps, but the process works for other games just as well. (I’ve used it on CSS mostly.) So below are the basic steps that I follow when making a map. You’ll notice that I’ve kept some of the same things.
1 – Brain storming and ideas. – This is where I get the main idea for the level. If I cannot get myself to visualize the level, I won’t make the map. I want myself to see it, to feel it, to be in it. All inside my head. I want to be able to see the main area of the level, that crown jewel for the map. I don’t want to see every detail, but I want to see what the level should be when it’s done.
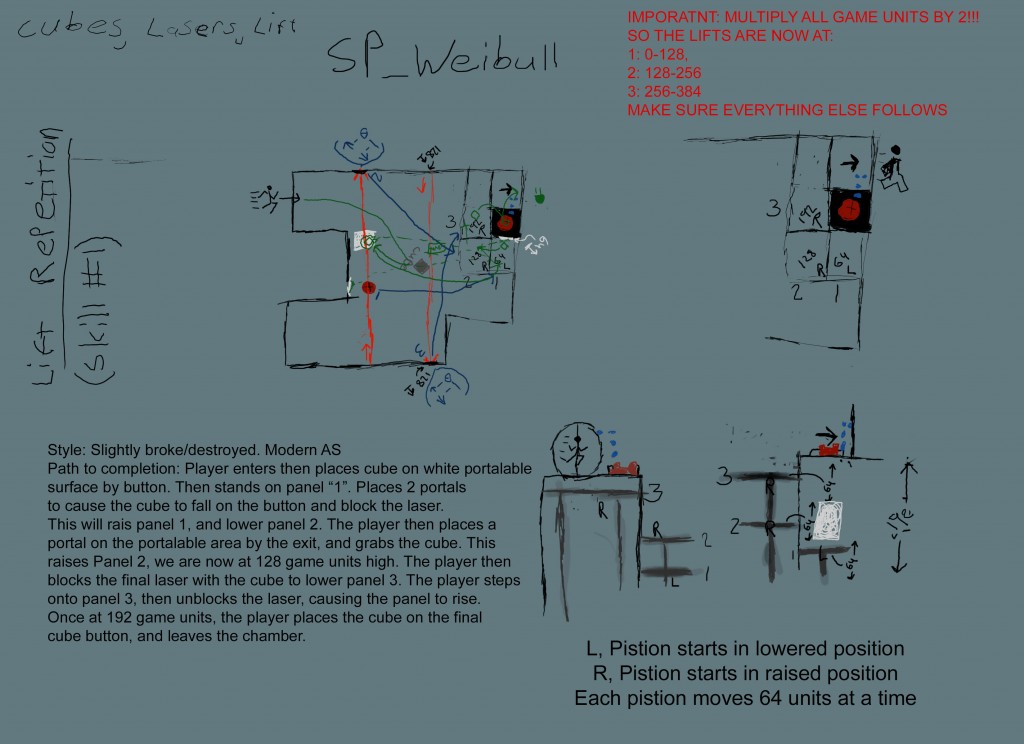
2 – Drafting and Drawing – I suck at drawing… But I can get my point across to myself, and that is all that matters. As long as you understand the drawing, it’s good enough. You’re not presenting this drawing to Gaben… I also make sure not to get hung up on details too much during the drawing phase. I do most of my drawings on scrap paper, and never keep them around long. Here is a concept image that I drew for a Portal 2 puzzle. It’s the main focus. I already knew the style of level, and theme so I did not need to go into too much detail on that in the drawing.
Concept art for SP_Weibull, part of the Wibi!Data project:
3 – Commitment – Commit to the level. If you cannot commit to it in your head, you’re not going to be able to make a good level. If I do this right, the level should always be in the back of my mind. I should be passively thinking of things that will look good, that will be good logic systems, that will build mood and feel. So things that will over all add to the players experience.
4 – Initial Construction – This is where I block out the entire level in nodraw, with the 3D camera on the flatsetting. (Use flat so you don’t get crazy… Yellow hurts.) You complete the frame work for the level, then I give it a once over with dev textures, Using the Orange for the walls, and Gray for the floors. Then I run though the level, make sure everything seems to be scaled correctly. Then I go back and touch up the parts that are too big, too small, ect..
I run though the level again, and verify that I’m happy. Yet any changes that I make are not set in stone. I don’t force myself to never change the layout. I will make changes, but I just block them out again, and test to make sure that everything still works.
5 – Function – For Portal 2 mainly you need the function’s of a puzzle. But for CSS you need hostages, bomb sites, cover, sniper nests, ect.. Every game will have it’s own things that are needed. This is where I add all of these. For CSS I just add rough brushes to the areas where I need cover to be added, I drop in hosties or bombsites, compile and test.
Portal 2 is a little bit different. I add ALL of the puzzle elements, but don’t hook any up. Once they are all in, I do a “dry run” of the level to make sure I can still navigate the level without any of the elements blocking me from completion. Then I hook them all up, and test it again. After that is done, I SHOULD have a fully working test chamber. At this point the walls are textures in about what I want them to be textured in. The black panels and white panels. Then I play the chamber though about 5 times to make sure I can beat it without issue, or glitches from elements. Then the 6th-8th play test I try to break things as much as I can. I’ll fix those, and do 2 more play tests, for a total of about 10 tests. Then I send the map to one of my various testers, where the do the same. For Portal 2 I like to watch them play the map to see where they go stuck and for how long. I also want to know if they felt like they wanted to quit, and if the payoff was good enough. Typically the tester will find some problems, I then fix those and move on to the next step.
Day one screenshot of SP_Weibull, 16 hours of time invested into level:
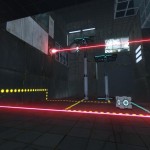
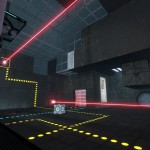
You’ll see there are some props, I was not intending to show these to anyone else, or write something on my process, or I’d have proper screenshots to add to my steps. But this is about where the level should be after my 5th step. Low detail, just function and basic mood.
6 – Detail Work – This is my favorite step of all time! I love making the level look pretty. It turns from something that is bland to something that is amazing. There is really nothing that I can “tech” about this step, and it’s kinda hard for me to say how I do this process, but it all ties into my first step of the idea in my head. I did not let that idea go for a single moment whilst making the level, but I have added onto it and changed it some.
For my detailing process I like to pick a focus area, again that crown jewel if you will. I’ll do all my detailing work on that, and that process again is depending on game, theme, and mood. For portal 2, I start with the framework model, and then block that out, add brushes. CLIP – ROTATE – DELETE – MOVE – SKEW – FUNC_DETAIL All to epic Dubstep music playing on Pandora. Then I have my hole in the ceiling and/or wall. Then I’ll add more props, cables, plants, overlays and that area is done.
In the vision in my head, there will always be some detailed areas that I visioned. I then go place those around the map where I feel they are needed. After all that I look around the level to see what is bland. I’ll place some minor detail, but not a lot. You can place too much, and that will destroy the mood that is trying to be set in place. Then I add cubemaps, soundscapes, ambient sounds, and move on.
7 – First “Final” Test – Now that map is “done”. I compile the level on final settings. (-textureshadows -hdr -StaticPropLighting -StaticPropPolys -final -game $gamedir $path\$file) I get up from my chair, and grab a drink and take a poop. The compile should only take about 20 minutes tops for this level. I then come back, and repeat the EXACT same testing methods as before. (Then I play the chamber though about 5 times to make sure I can beat it without issue, or glitches from elements. Then the 6th-8th play test I try to break things as much as I can. I’ll fix those, and do 2 more play tests, for a total of about 10 tests.) But I’m not looking at the completion as much. I’m looking for spots that have bad lighting, miss aligned textures, badly placed props, wrong sounds, mis-used sprites or overlays, props getting in the way of completion, ect..
Then, and this is important… Send the map off to a DIFFERENT tester who has never seen the level before. So they get to test a finished chamber, that is completely new. I look for them struggling to see things in the chamber, completion time, getting stuck, yadda, yadda…
8 – Fix and Ship – Then I fix all the problems found in the previous step. Compile on Full, final, both and build cubes maps for HDR and LDR. Restart my game, and give the map a once over. If all looks good, I ship it out. (Or in this case, move onto the next level.)
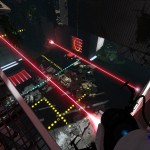
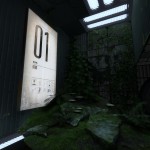
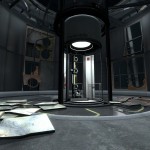
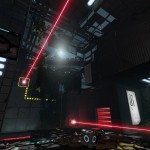
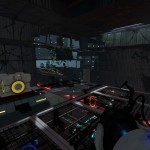
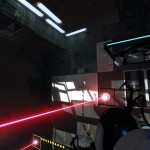
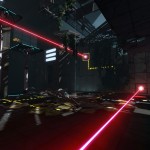
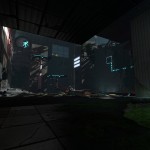
Finished images of SP_Weibull for Wibi!Data project, 45 hours of time to complete. Map not final and is subject to change:

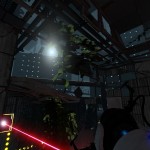
 Well, that’s about it for my process.